PixelFish Club
How to start prepared and not die in the first 15 Minutes.
Need more Help?

This guide is here to help you get started in our SMP Minecraft community! If you've played Minecraft before then you can probably skim most of this stuff and just focus what's unique about our Server. What follows is a set of recommendations and helpful tips to get you up and started quickly without any rage-quits. Once you've played survival multi-player, you'll immediately be able to appreciate the open-sandbox feel in a procedurally generated world that you can invite your friends to. We thank you for your interest in our community and look forward to seeing what you make!
Every player gets 20 Emeralds in the bank and the the following items in their inventory once they login for the first time:
 x1
x1
 x1
x1
 x1
x1
 x1
x1
 x16
x16
 x5
x5
 x1
x1
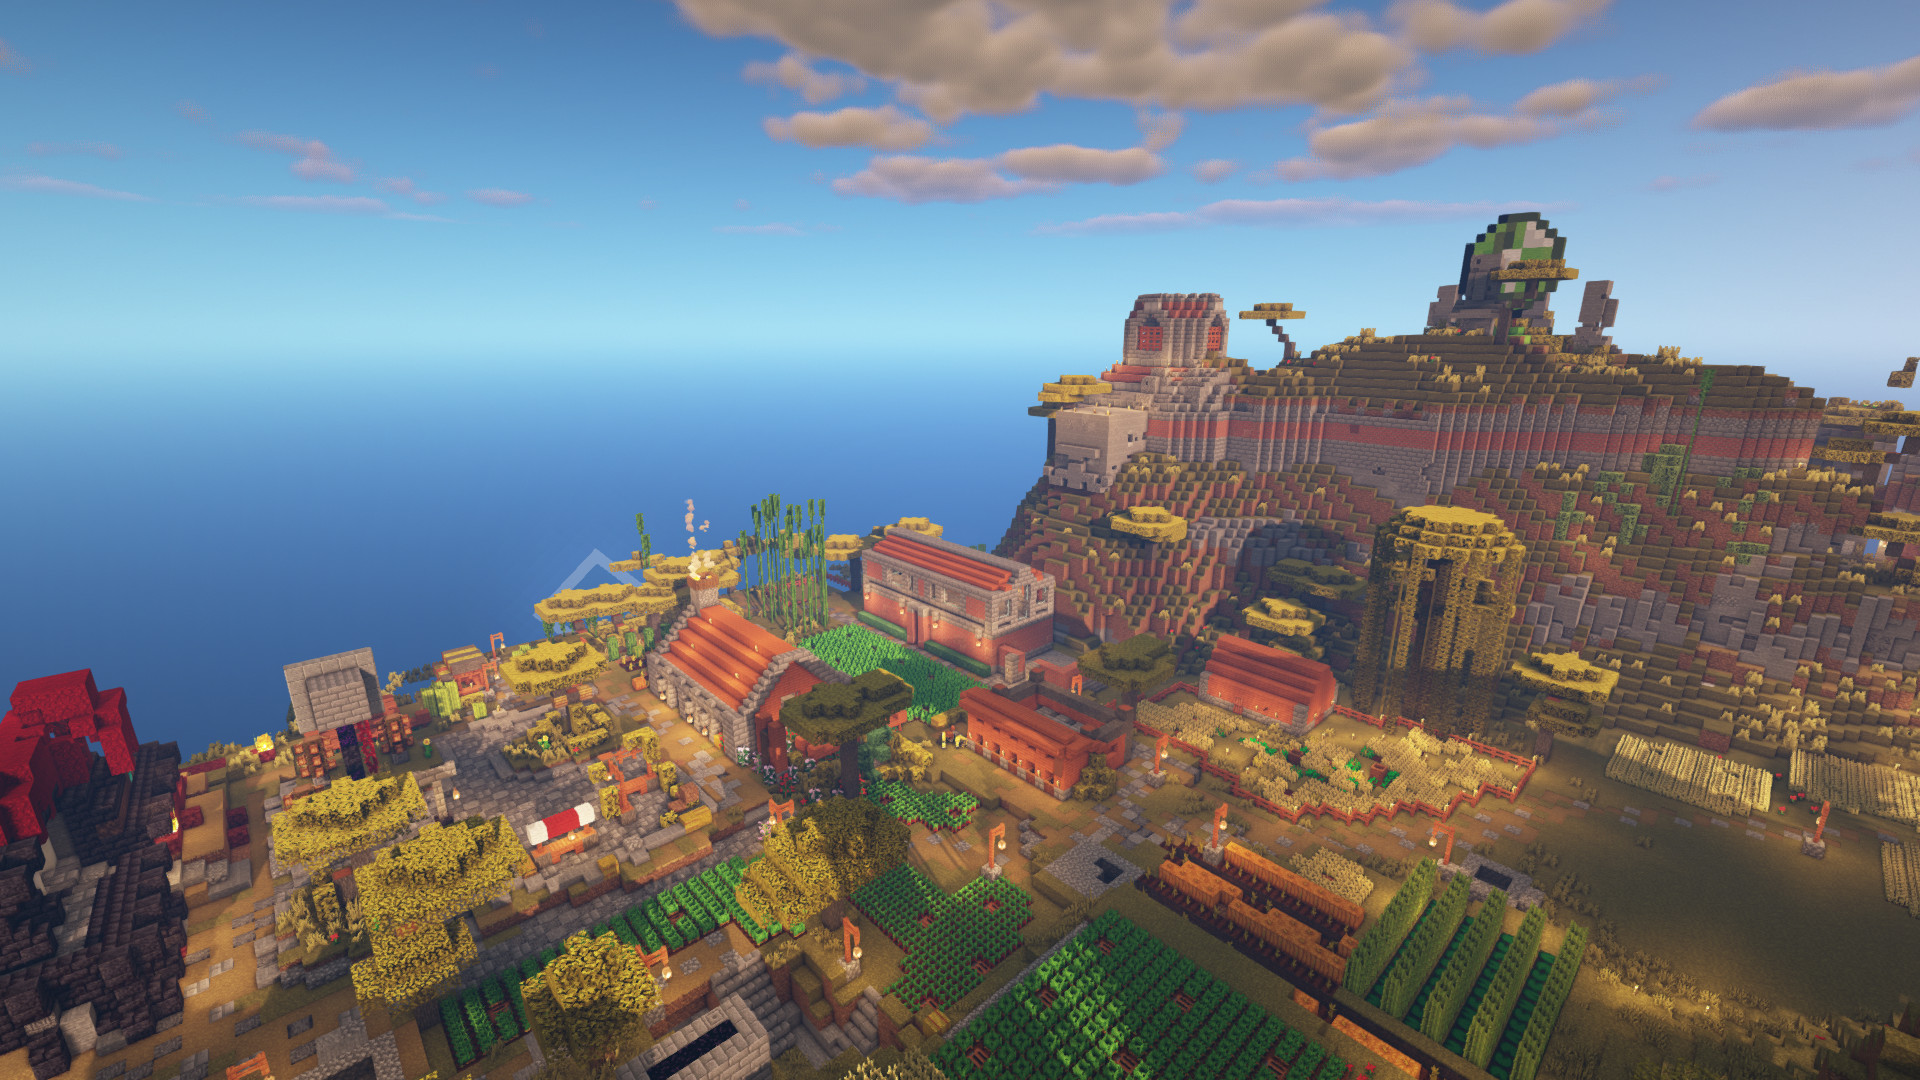
Spawn has a bunch of admin shops, plots for rent, and a large villager trading hub to get started on your Emerald making journey. From the main spawn plaza, you can easily get to the all the world portals, villager trading hub, and mob rewards hall. There is a random teleport button just inside the main spawn castle. This is a good way to get out of spawn quickly into a random spot on the map. The castle also contains an information kiosk with guides on how to get up and running along with Shopkeeper eggs for sale, so you can set up your own player shop. You are not limited to just creating shops / renting space at spawn! You can plop one down right in your own player-made establishment in the wild. However, if you do want to set up shop at spawn, you can find spaces for rent inside and underneath the main spawn castle. The vote and donor rewards shops are also located just inside along with admin shops upstairs that are open the first seven days of every month to buy bulk goods and other special stuff.
Public warps cost 10 Emeralds each. The amount will be automatically deducted from your initial balance.
Mob spawning is disabled at spawn, giving you plenty of time to figure out your next move in safety.
If you're not too keen on doing all the leg work to get out in the wilds where no one else is, then you can use the magical random teleport button in the main spawn pavilion to get out real far, fast, and free! There are no guarantees, but you can always use /spawn to give it another go if you don't like where you end up. Just don't spam it...lag is no fun for anyone!
A comprehensive list of commands available to you are listed on the server page. However, these are the ones you need to know right out the gate to get a good start. Every player starts with one free home warp location. You can set this location using the command: /sethome [name] (where [name] is any name you choose without spaces). Once you set your home, you can warp there, for free, at anytime by using the command: /home [name]. You can delete or rename this home at anytime by deleting it and creating a new one: /delhome [name] and then /sethome [newname].
As you get established, you will want access to resources. It's perfectly fine to mine all over the map, but if you are about to deface a large area just for a resource i.e. taking all the sand out of a desert, just use /resource tp to get to the resource world. This is a unique overworld which resets every seven days. There is one for the end and the nether too! To get to them just use /resource tp end and /resource tp nether, depending on where you want to go.
Keep in mind that the resource world tp will take you to a random spot. You can die and lose your stuff in the resource world, so be careful! Also, you can not set a home or warp in the resource world.
Spawn offers exits on all cardinal directions to get out quick. Make sure you have a browser with the map open so you can watch yourself move across the world in near real time. Make sure to harvest wood, stone, and anything else you can along the way. One of the most important steps is getting coal, cobblestone, and creating a furnace. You can cook the meat of any animals you kill on the way. That hunger bar will start dropping, don't let it get to the bottom!
Pixelfish Club game rule is set to allow the night to pass quickly as long as half of online players are sleeping.
All players start with 400 claim blocks. Placing down your first chest will create your initial 10 x 10 (100 block) claim, which you can resize as you see fit using a golden shovel. You gain 50 blocks per hour of gameplay up to a maximum of 6000 accrued blocks, but additional blocks can be bought for 0.75 Emeralds each. If you get strapped for cash, you can always sell some of your claim blocks at a reduced rate of 0.50 Emeralds each.
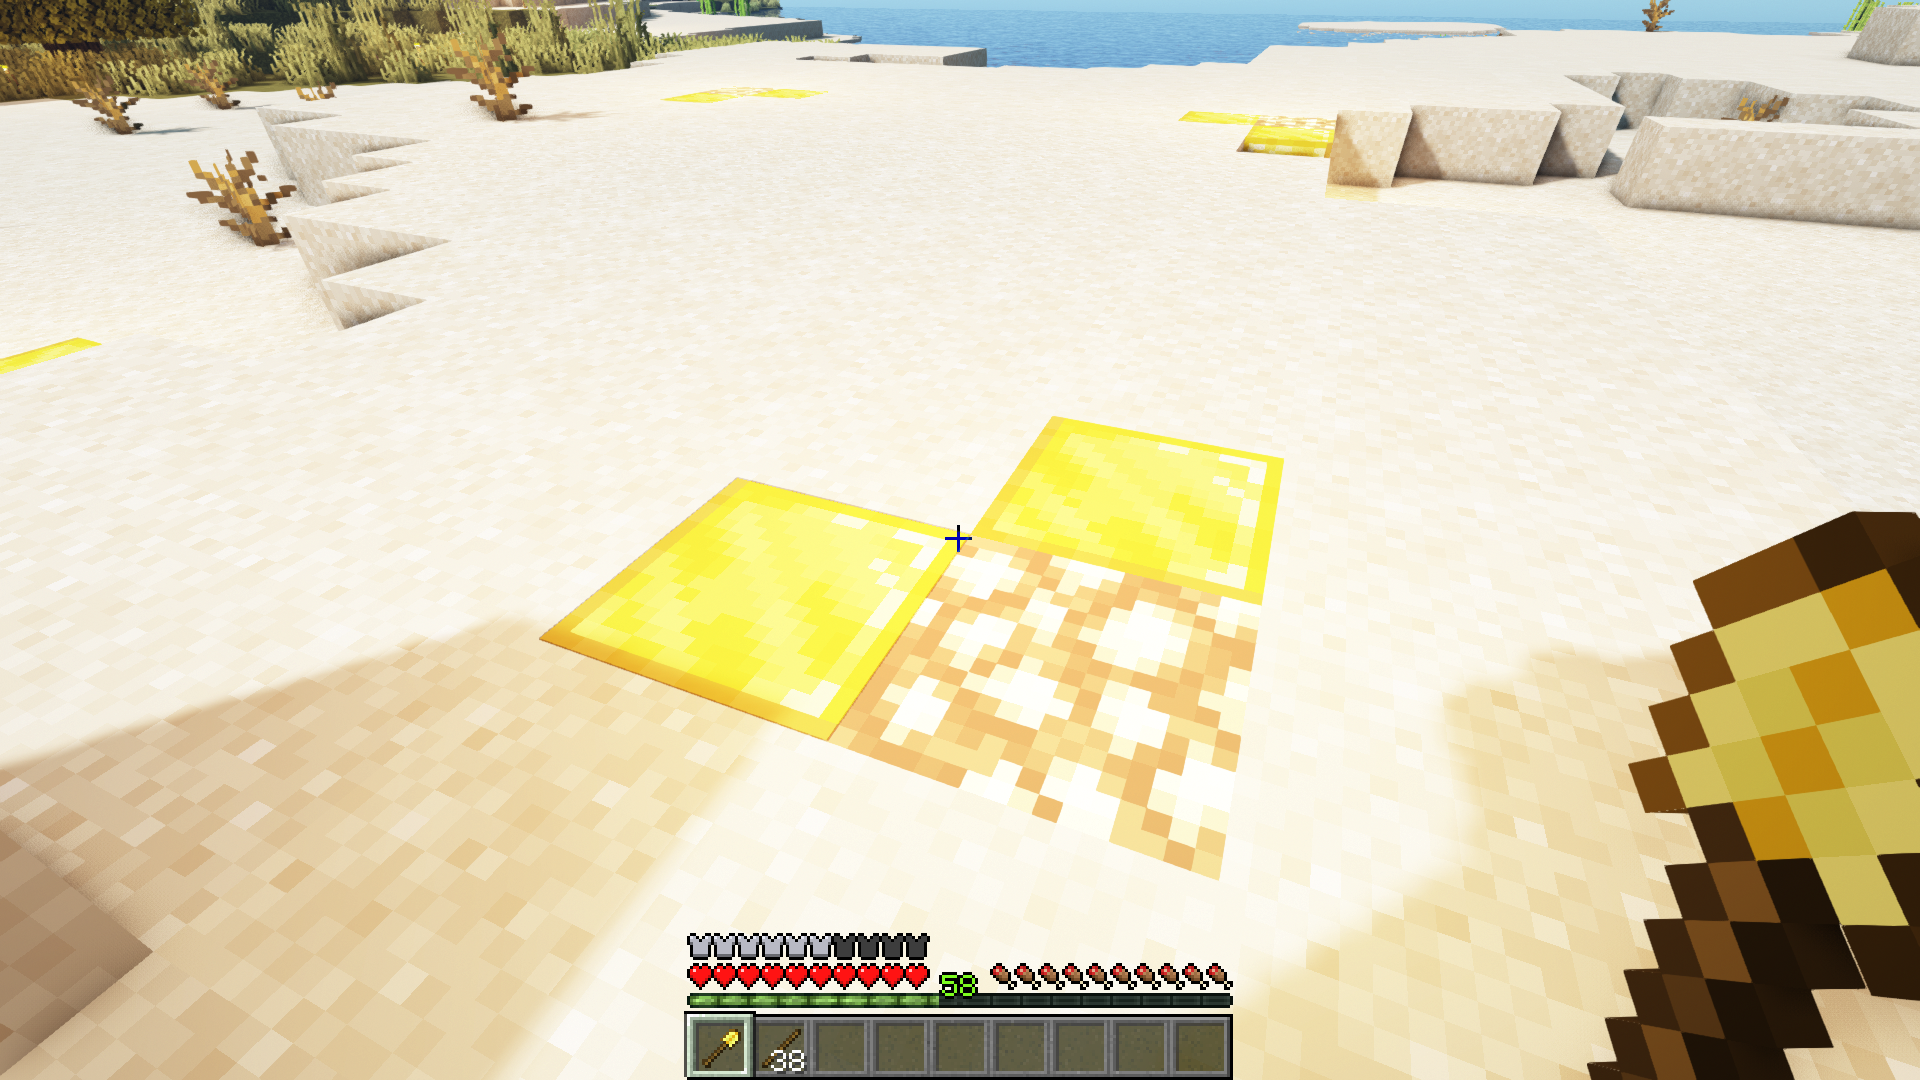
You can see the outline of your current claim by right-clicking on the ground with a stick. Your claim will light up with a border of dashed gold blocks with the corners shown as glowstone blocks. Note, this border will disappear after some time. To resize a claim, right click on one of your claim's corner glowstone blocks with a golden shovel. You will then need to click on the block you want the corner to move to. If you have enough claim blocks to perform the transaction, you will see the new claim outlined as before and be greeted with a success message in the chat.
If you are just out and about and want to claim an area that isn't connected to any of your current claims, all you need to do is use the golden shovel and right click on the ground. The block you click will turn into a diamond block for reference. You then need to create an opposite corner that is more than a total of 100 blocks (10 x 10 area) using your golden shovel. Once you have created a claim that fulfills the size requirements, the claim will be bordered with dashed gold blocks with the corners of your claim show as glowstone blocks. You can then resize as you see fit if you need to.
Open up a command line using the T key. Type in /buyclaimblocks [number] where [number] is the actual amount of blocks you would like to buy i.e. 200. Buying 200 blocks in this case would cost you 150 Emeralds.
If for some reason you forgot where one of your claims was, you can always get a list of all your claims by the world they are in and the associated coordinates by doing /claimslist.
You can assign various levels of trust to users within a specific claim. Each trust list applies to the claim you are standing in. This means you will need to do this for each claim you own that you want someone else to have some level of access to. More information on the different commands and levels of trust are listed on the server page.
Settle near a village temporarily to setup an early game cash cow. Farming and stone cutters offer a great way to start making Emeralds. You can deposit any emeralds you make by bringing up the command line using the T key and typing /deposit. This will automatically take any Emeralds from your inventory and deposit them in your bank account!
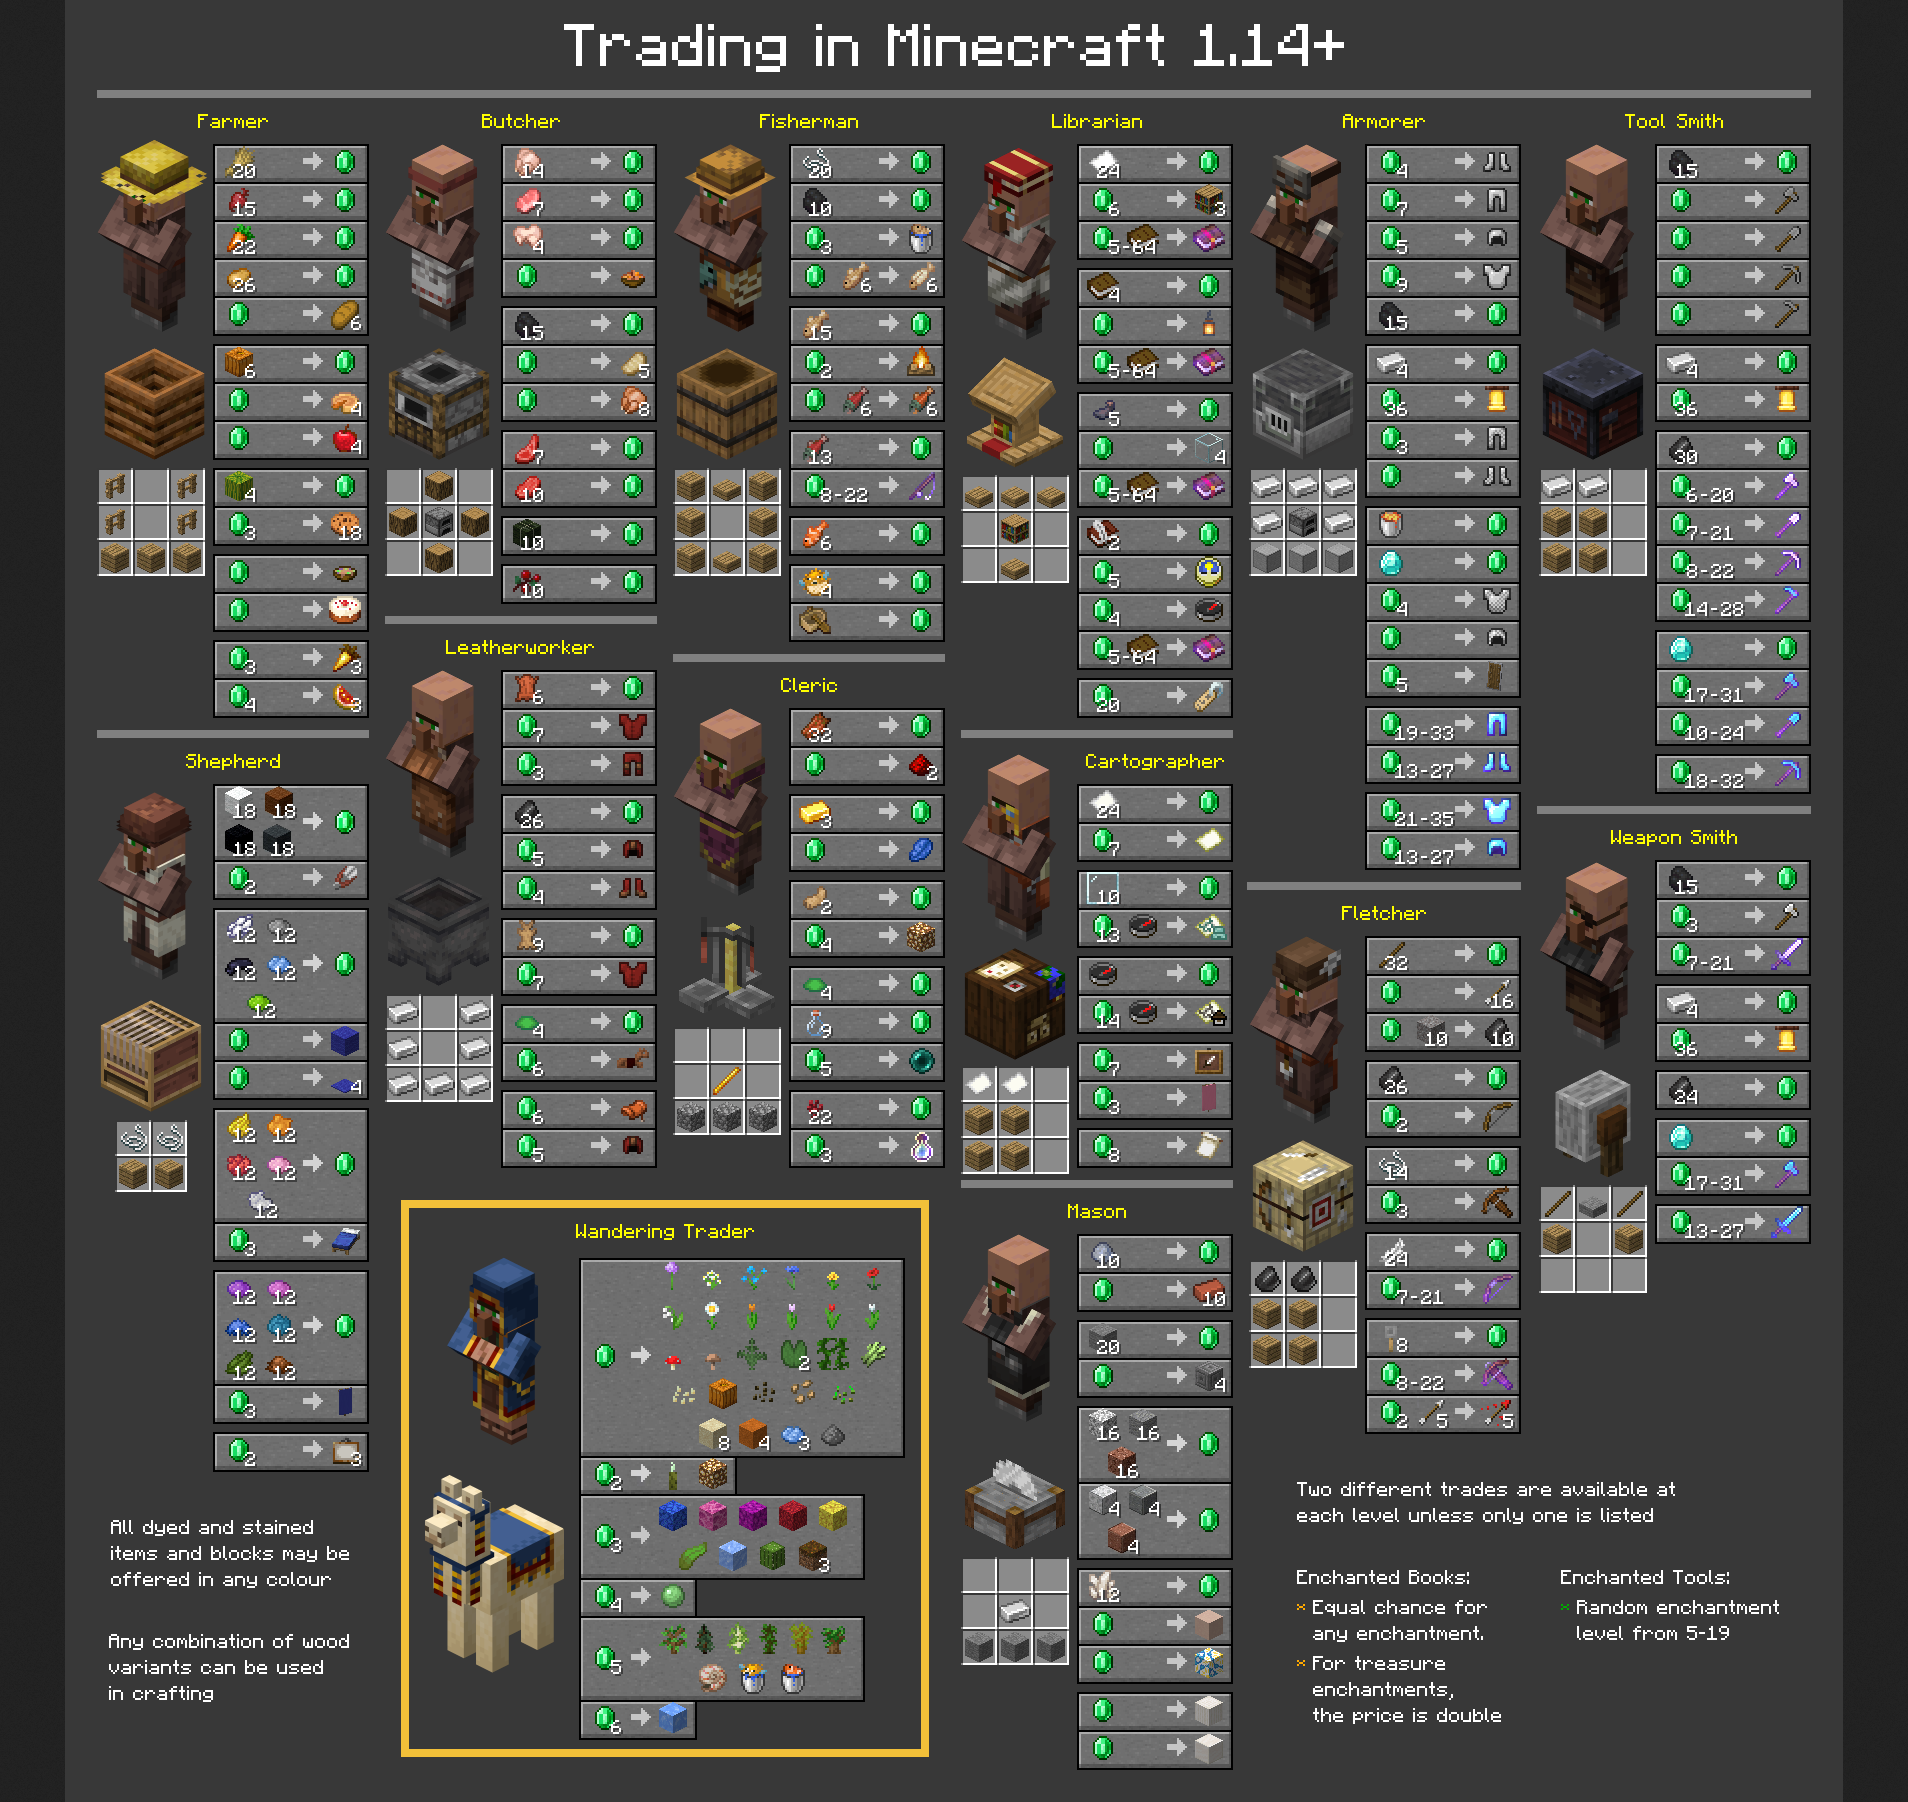
To the right is a helpful infographic that shows 1.14+ Villager trades. Right-click the image and select "View Image" to see it full scale or download it.
Player communities are highly encouraged. Large communities can benefit from free protection by opening a ticket with staff. These protected regions can help consolidate production in a predefined area for it's members to share. Owners of the region can manage members in their region.
We have a unique stock exchange system on the server which changes based on real-time player behaviors. These markets revolve around natural resource gathering and utilization. The prices are updated twice daily immediately following the server reset. If you play your cards right, you can make some serious cash. Your actions also affect the market price! Check the prices at any time by using the command: /markets. Learn more on the server page!
You can purchase Shopkeeper Spawn Eggs just inside the castle at spawn. There is a book with instructions on how to set up a shop inside. Shops can be set up anywhere in the world using a Villager Spawn egg. Once created, you will need to "attach" your Shopkeeper to a chest nearby. Once you place items in the chest, you can then set the price by shift right clicking your Shopkeeper. You will receive notifications in-game when someone purchases items from your shop.
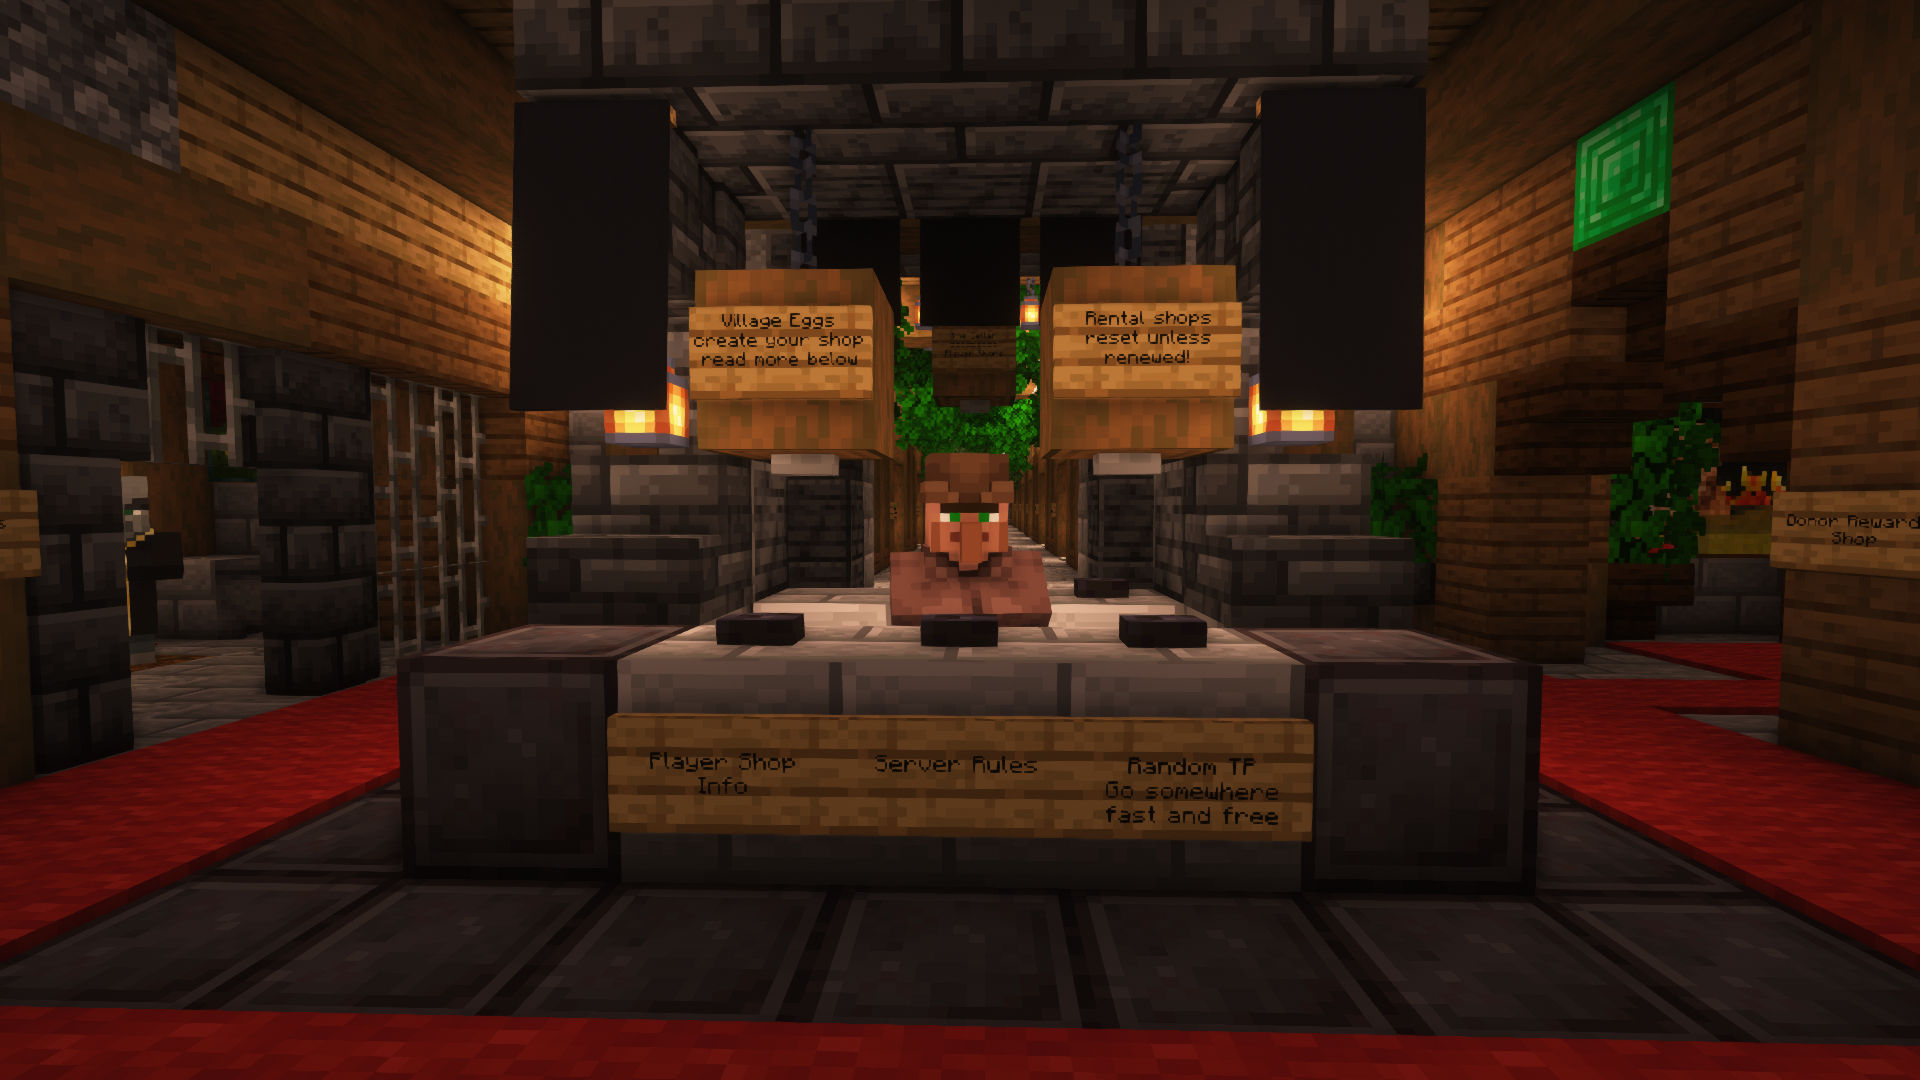
There are numerous areas you can rent at spawn and in Pixtropolis. These areas are easily accessible to all players, giving your shop visibility. You can rent these spaces by right clicking on the sign posted nearby. To see the area you will be able to build in, type /arm info while standing in the plot. This will render purple particles around the area you are allowed to build in. If you forget to pay your rent, your shop will be reset! We do no replace items lost from a reset, so keep track of your timelines!
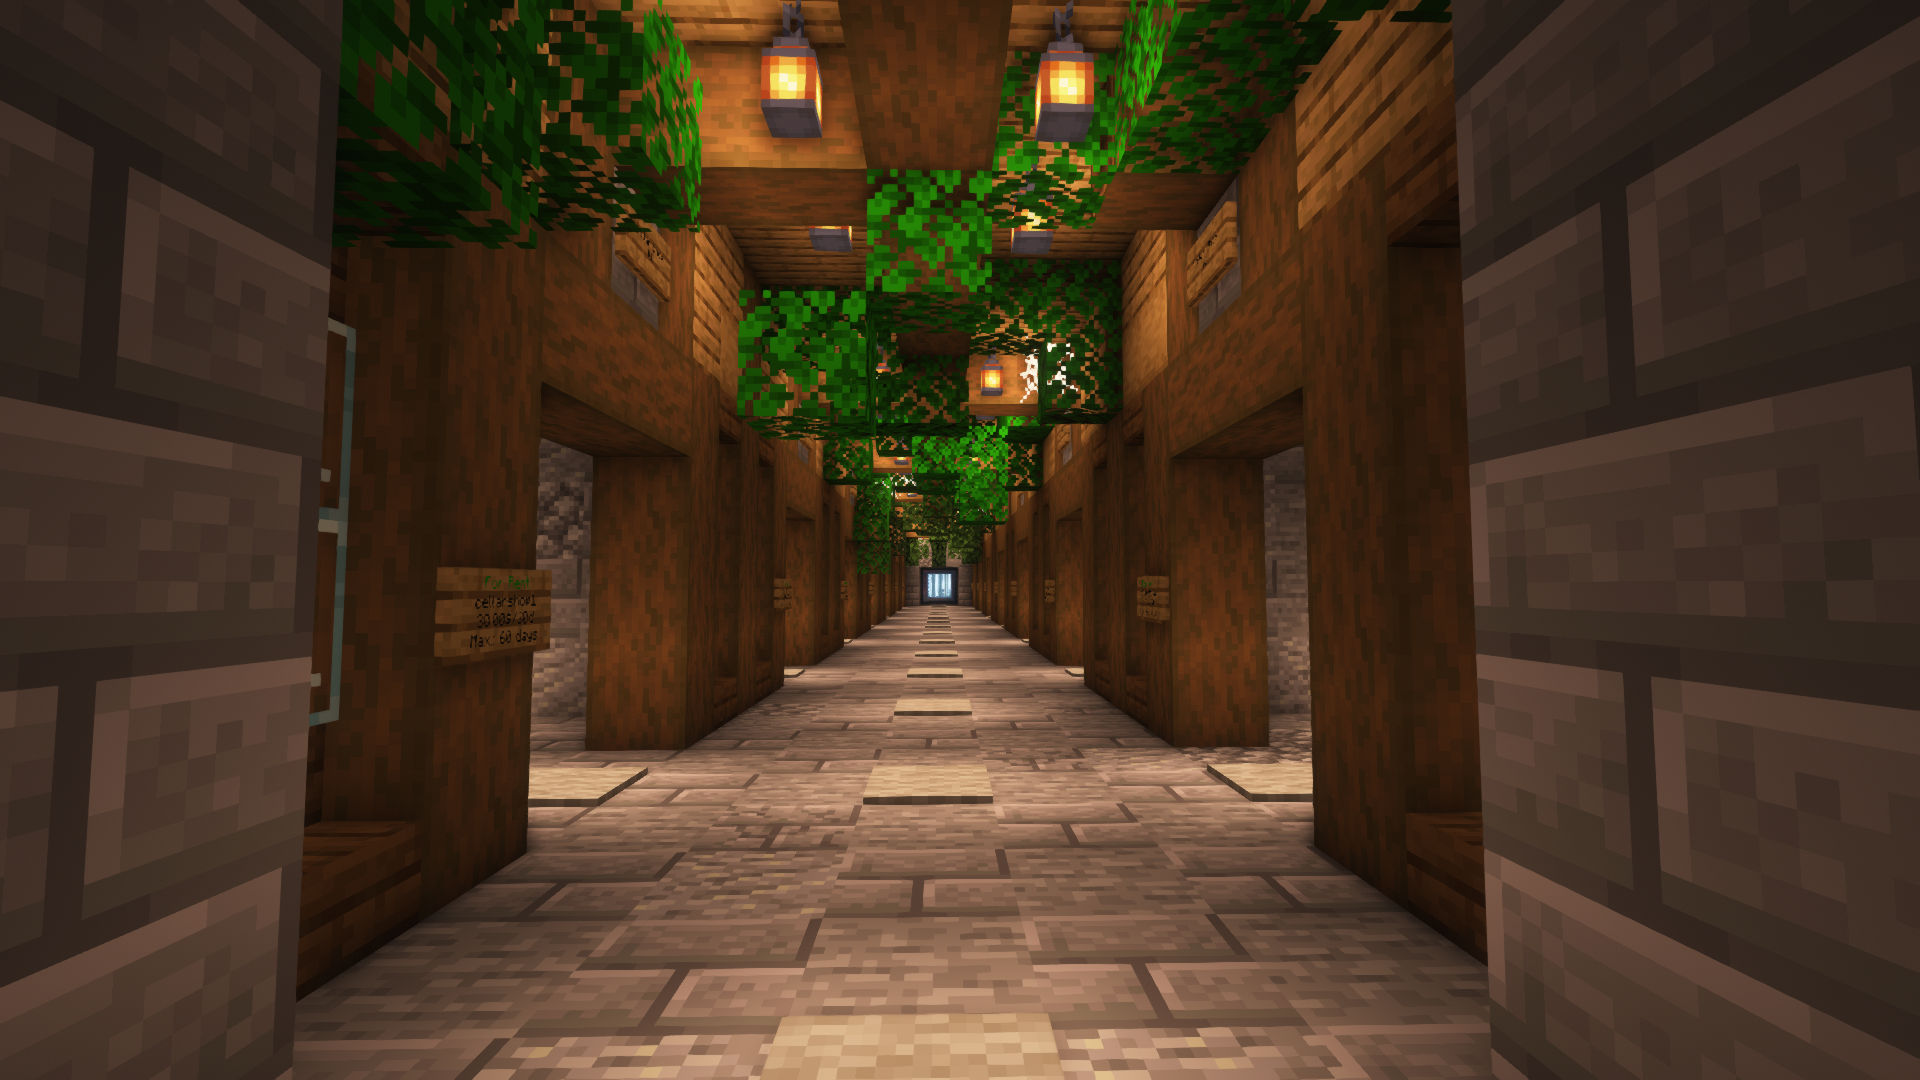
Cellar Shops
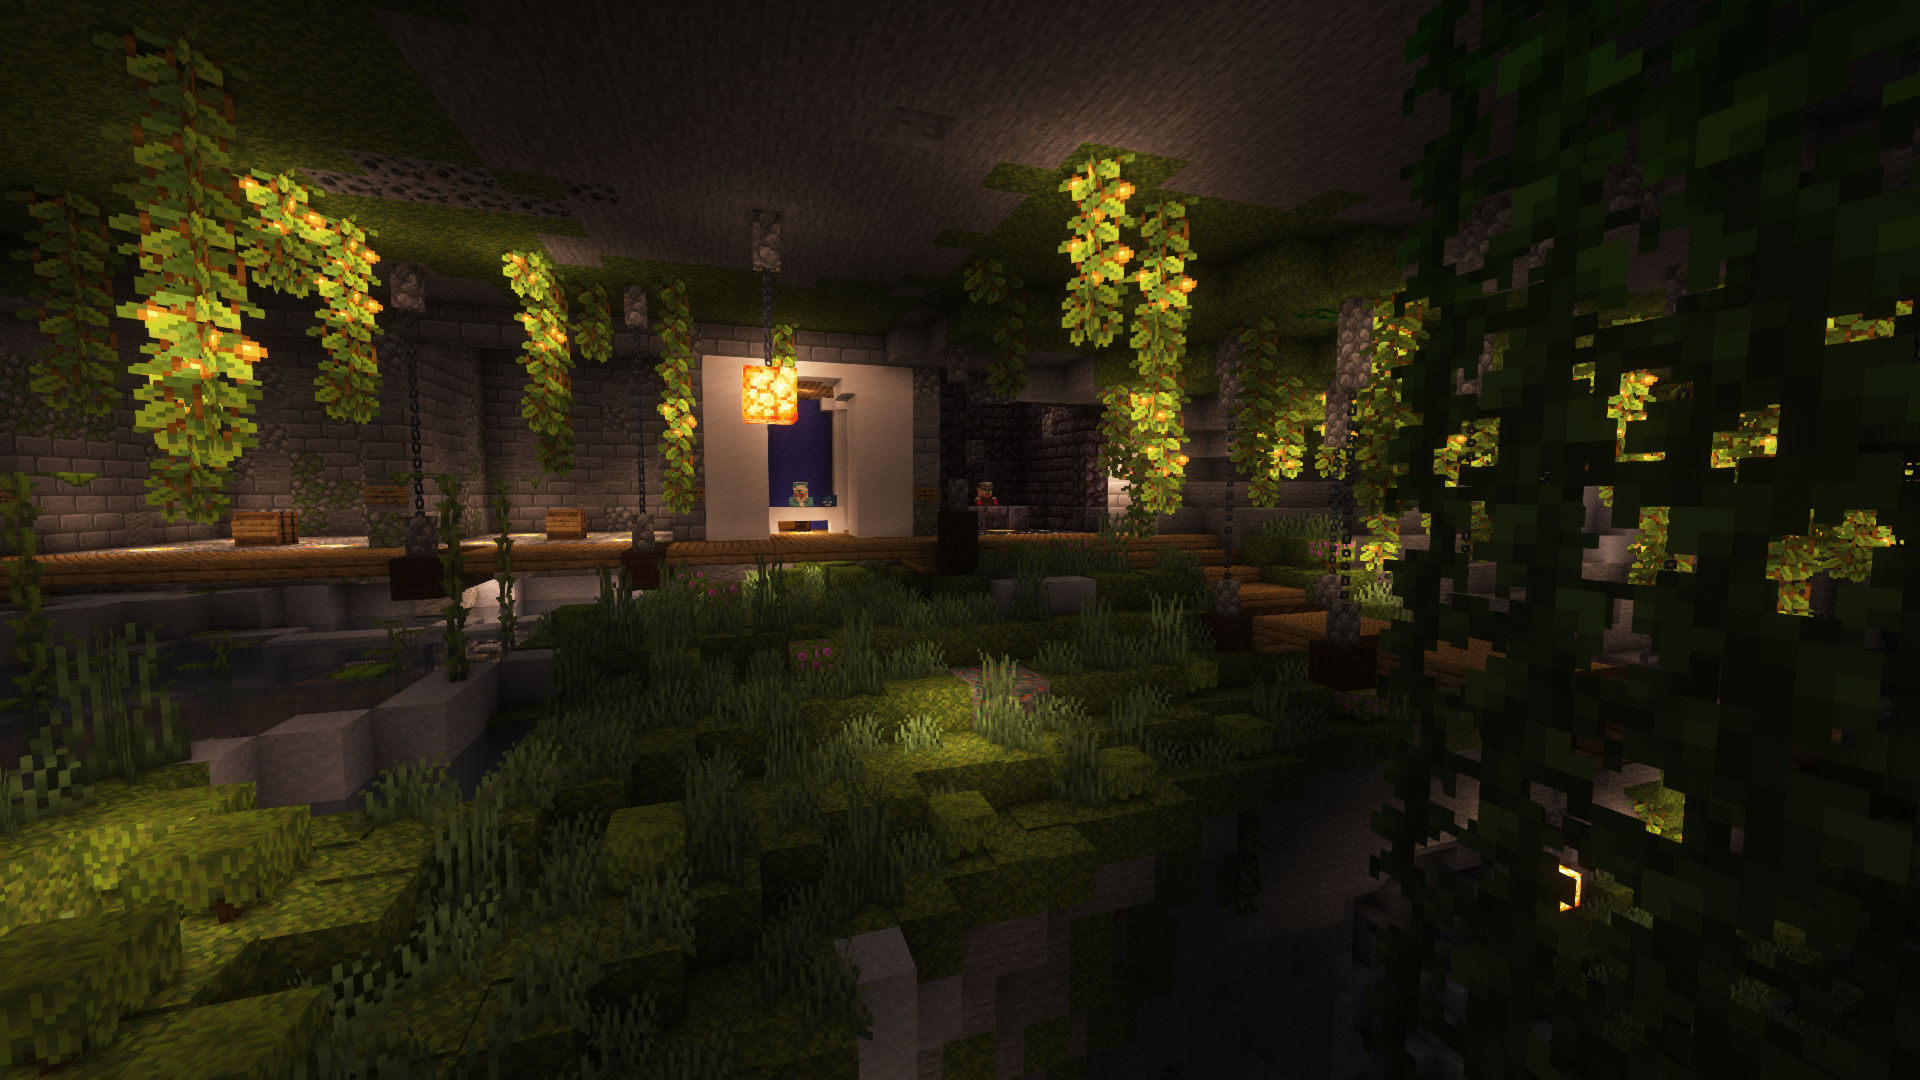
Cave Shops
Let us know how we can improve this page
Contact Us